
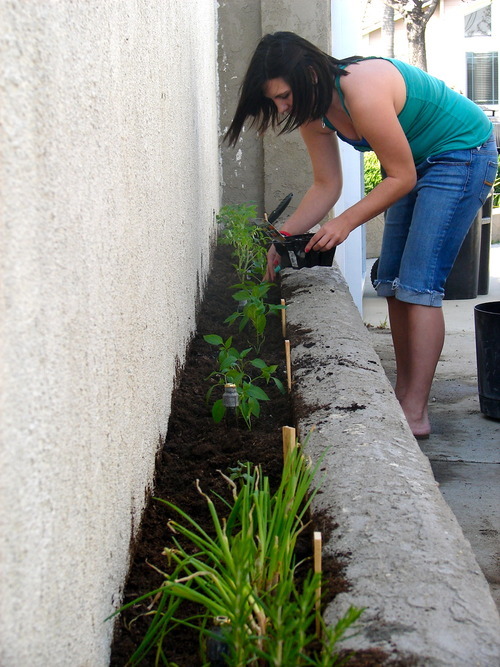
This weekend was sunny and beautiful. To my surprise, my fiance decided to clear out the side yard for my dad. This lead to a day of digging, weeding, and gardening. I’ve always been against gardening - I had to do it with/for my mom when I was a teenager & I never understood the concept of planting annuals. ((“Why are we spending all this energy just to plant something that will die in 6 months & we’ll have to dig up again?”))
So, I’ve never really given gardening a second chance until this weekend. My dad wanted to plant some veggies & I’m really excited about them! I’ve been trying to eat less processed & altered foods so, an organic garden? Yes please!!
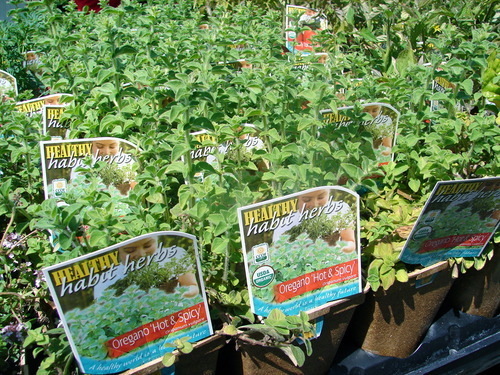
Mmmm Oregano…
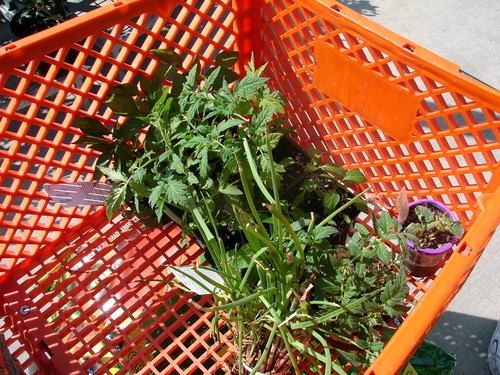
Just the beginning of filling our cart…
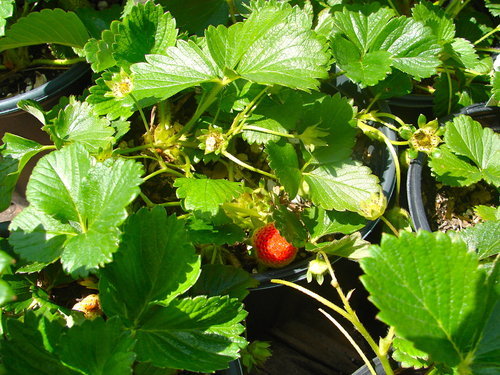
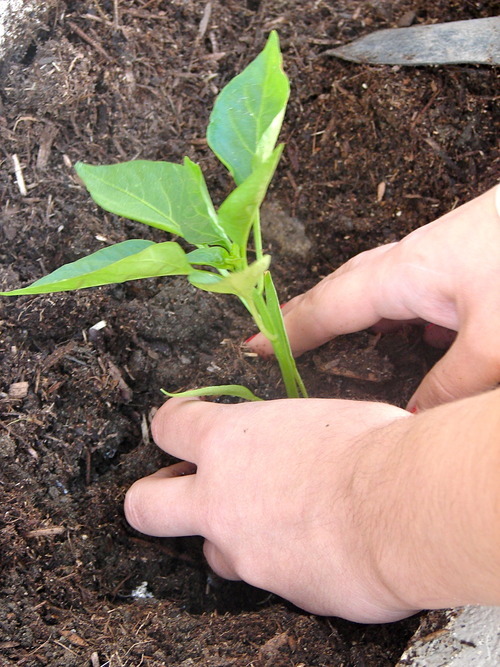
The first courageous one….
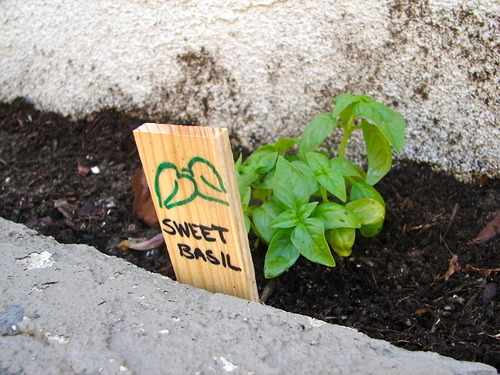
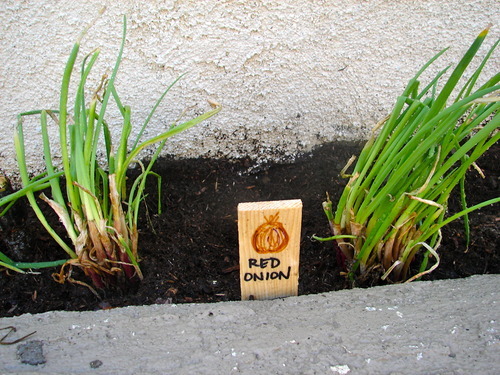
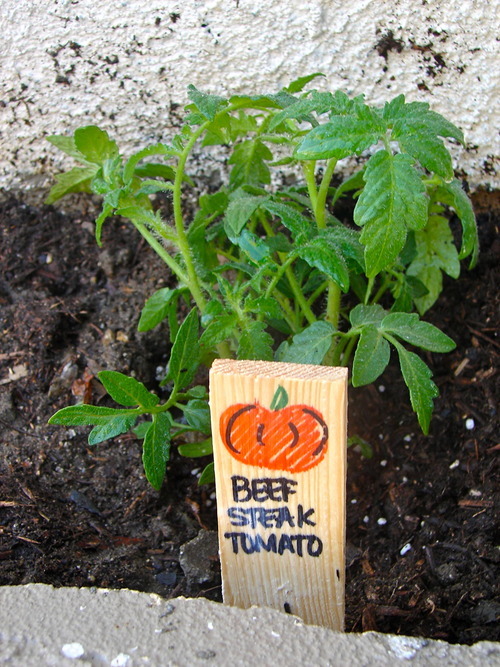
{DIY: Wooden Garden Markers}
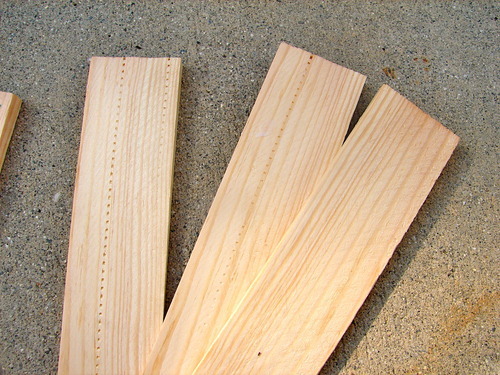
1. Get small planks of wood. {these are mini wedges, they came in a 12 pack - I got these at the hardware store}
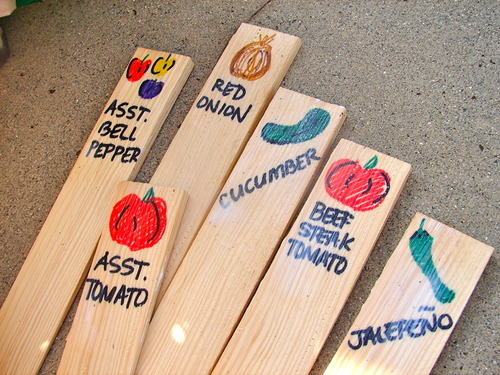
2. With a permanent marker, I used a Sharpie, LABEL! I wanted to draw little images of what would be…. :) {and my asst. means assorted, I couldn’t remember the actual abbreviation for it}
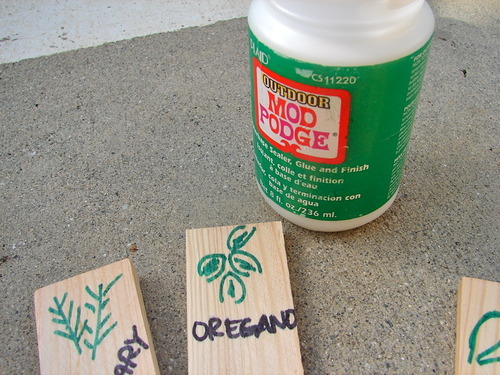
3. Grab your Deco` Podge. {found at any craft store in the glue aisle}. There are different kinds to get. If you’re buying a new jar, they have an outdoor kind. Deco’ Podge is a glue & sealant. It is waterproof when dry, so I used this paste as a means to seal the wood chips & keep the marker ink from bleeding when I water the plants.
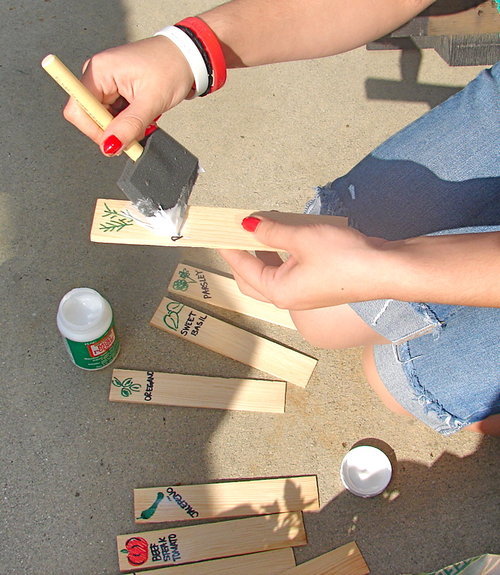
4. Using a foam brush {also at a craft store} smear the deco’ podge all over. You really cant put too much on, but you want it even. It will look & smell like Elmer’s white glue. If you are sensitive, do this outside. They will look cloudy when wet, but all will dry clear. I did both sides. They’ll take about 10-15 minutes to dry, if you’re outside. {DIY tip: Make sure you wash out your foam brush immediately after you’re done so you can reuse your brush later :) }
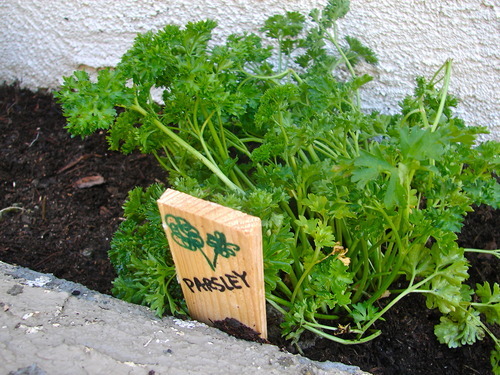
5. Shove the markers near the planted seeds/sprouts!!
{Here are some photos of the garden with the markers}

xo,

No comments:
Post a Comment
Thank you for leaving a comment! xoK